Designed by the Italian designer Giorgetto Giugiaro whose accomplishments as a designer gave him the title “Car Designer of the Century” in 1999, Considering the projects he was involved in Post 1999 i believe he might be nominated then next time also…
Giugiaro was working in the Italian Design house Bertone when he designed the Giulia Sprint GT/GTV.
The car is equipped with a 1750cc engine which major parts; Sump, Block and Head are fabricated entirely are from aluminium.
My car has the following history:

Further the car is exported to Sweden the same year, somewath xx owners has owned it in Sweden.
If you have an old Alfa Romeo and wonder when and where it was made send an email to Centro Documentazione.
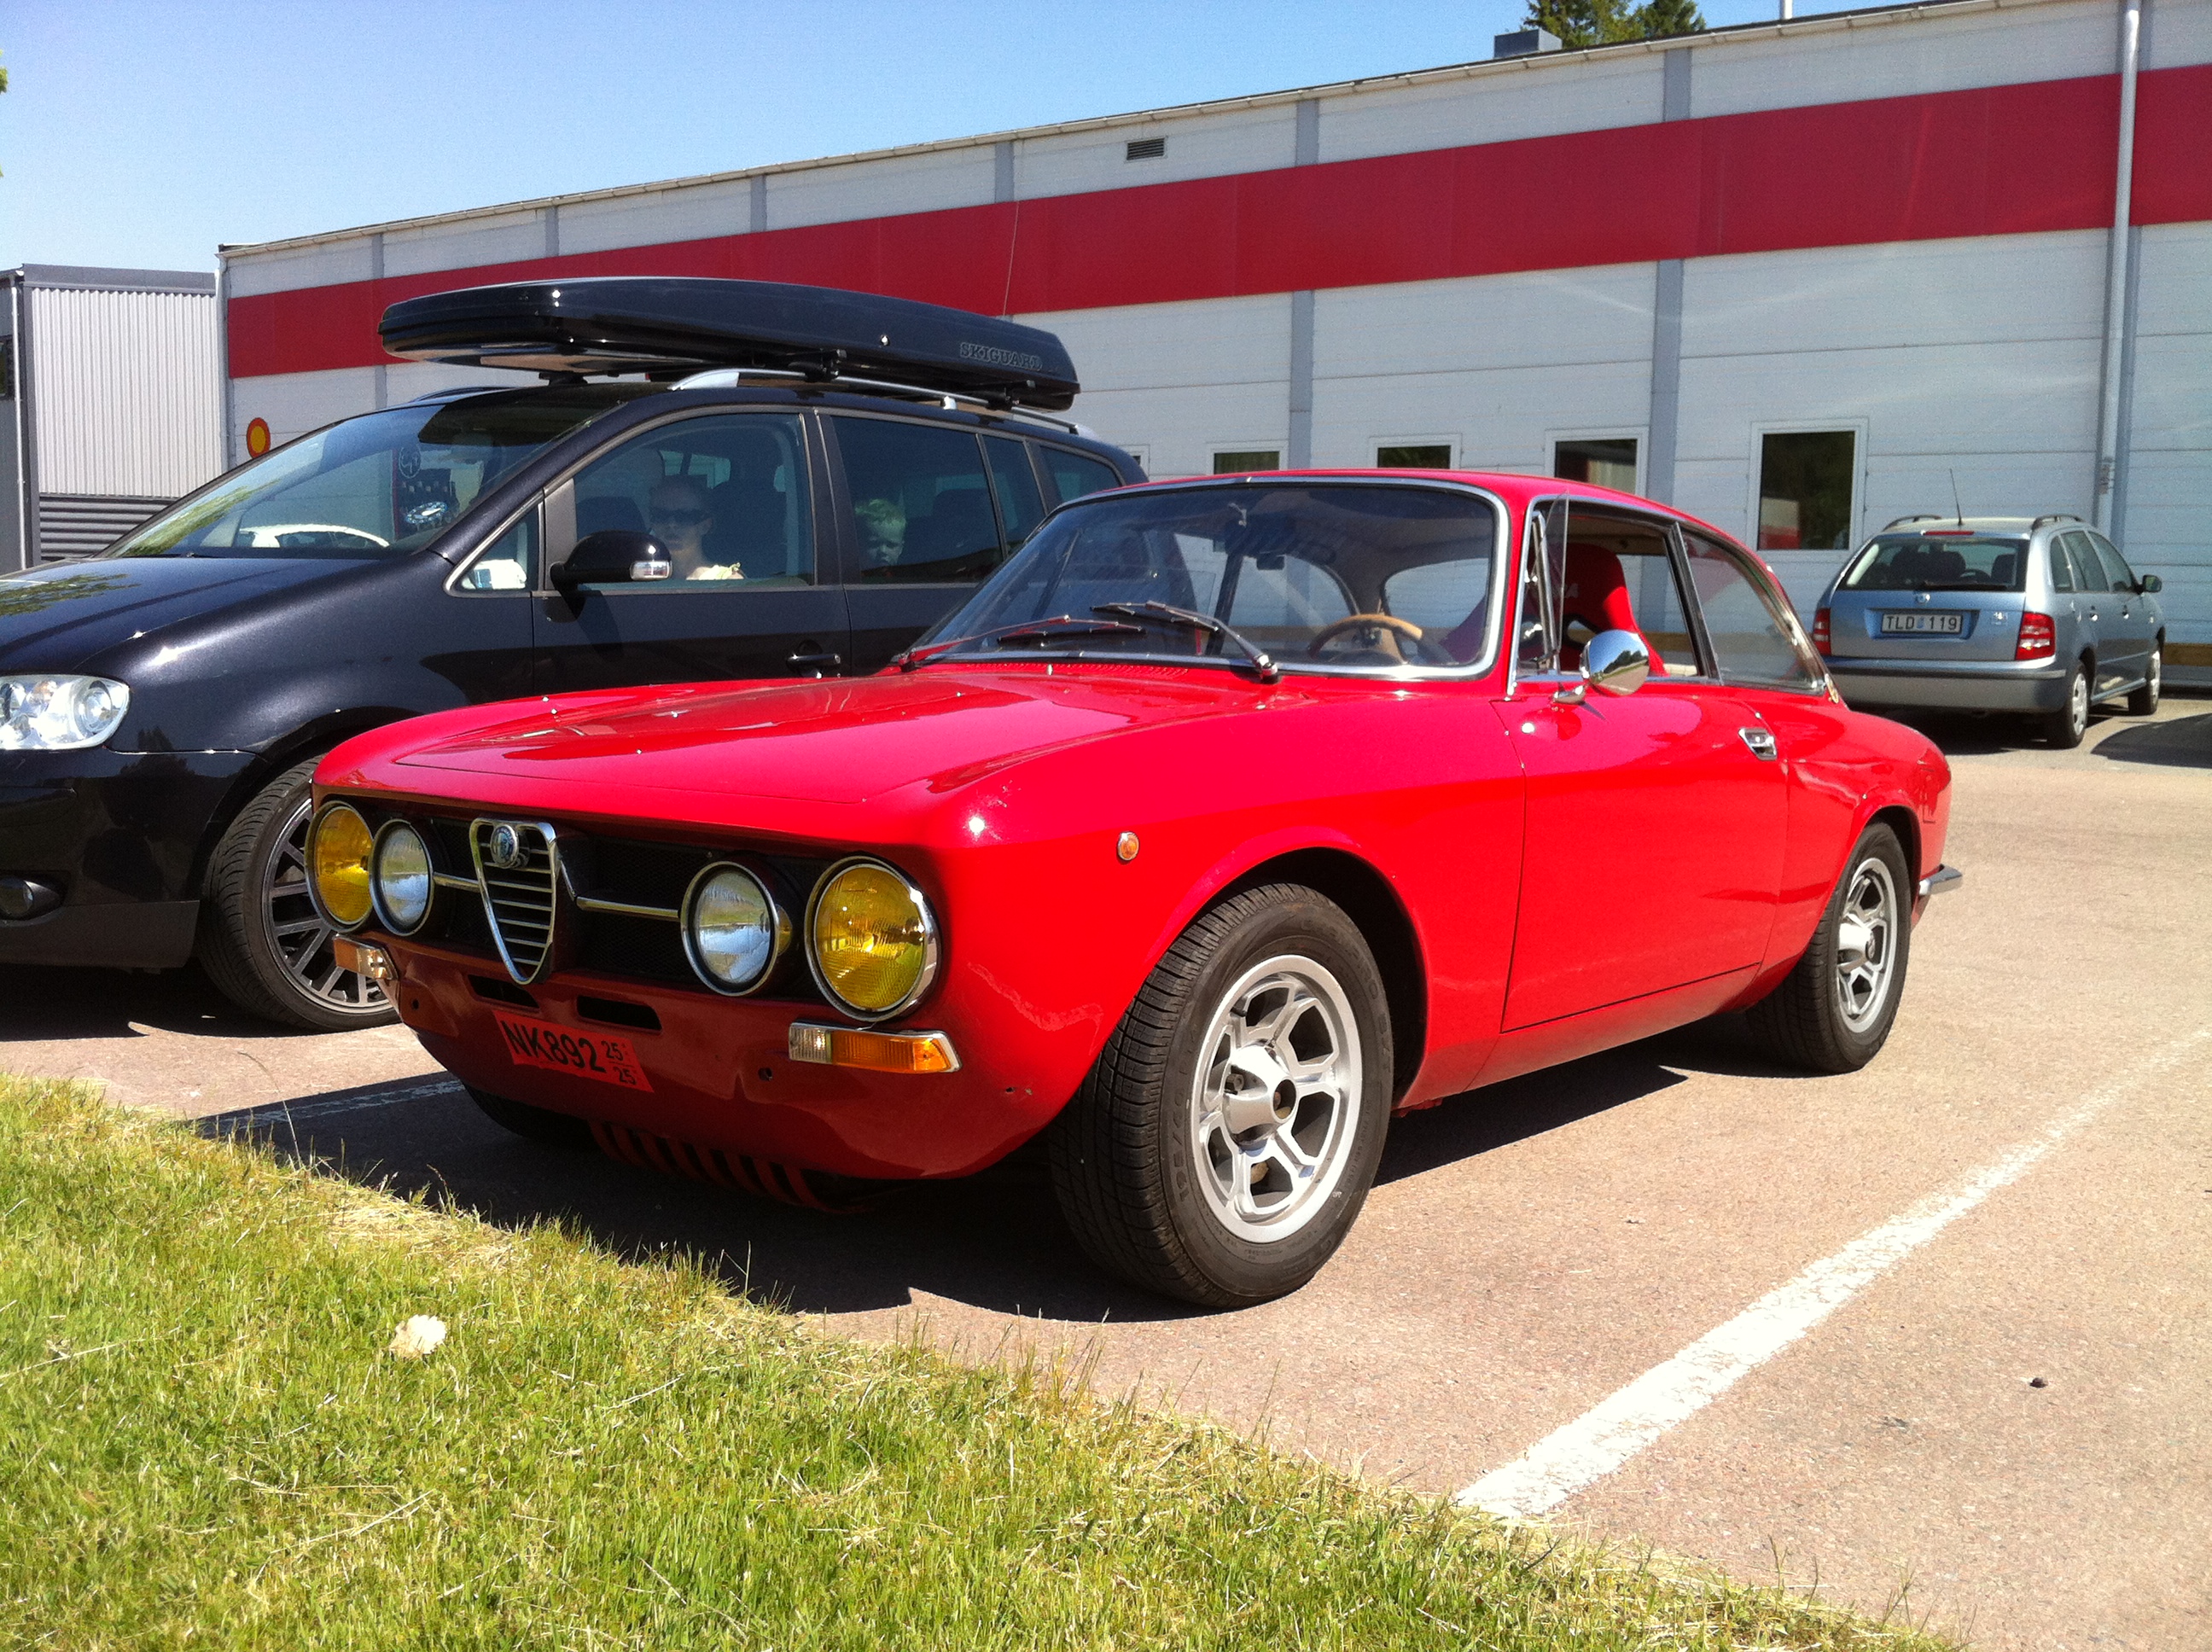 This is the car as it was when i imported it from sweden in 2012, it had a fresh paint job but that was about it.. the Interior and the complete drive train needed urgent attention, oil leaks were the worst, along with a slipping clutch, this meant that my plan of using it “as is” for the rest of the spring and summer was not going to happen, some drives were done just to establish the need for mechanical attention.
The Planning Phase
As i was now moving in to a serious rebuild, and yes.. i would like to use the word “Re-Build” instead of Restoring, only because i have the up most respect for the people who do just that : Restore.
I often improve the original quality to make the item more durable and by doing that i do not think it qualifies as a restoration, example; changing the brake components to a more durable and effective design.
The first thing i did was to have a look at all the things i Wanted to change, regardless of age and condition, by doing this I achieve a certain level of control of the wear of the car.
- Wheel bearings and seals
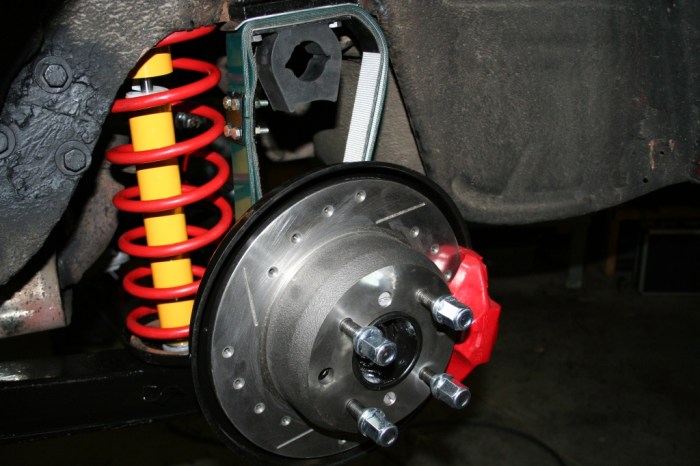
- Brake components (Rotor,pads etc.)
- All bushings
- Seals on engine and gearbox
- U-joints
- Prop shaft bearings
- Wheel bolts, longer (Reverse threaded bolts on left side of car)
- Hoses and belts on the cooling system
- New shock absorbers
- New ignition system ( 123-Ignition)
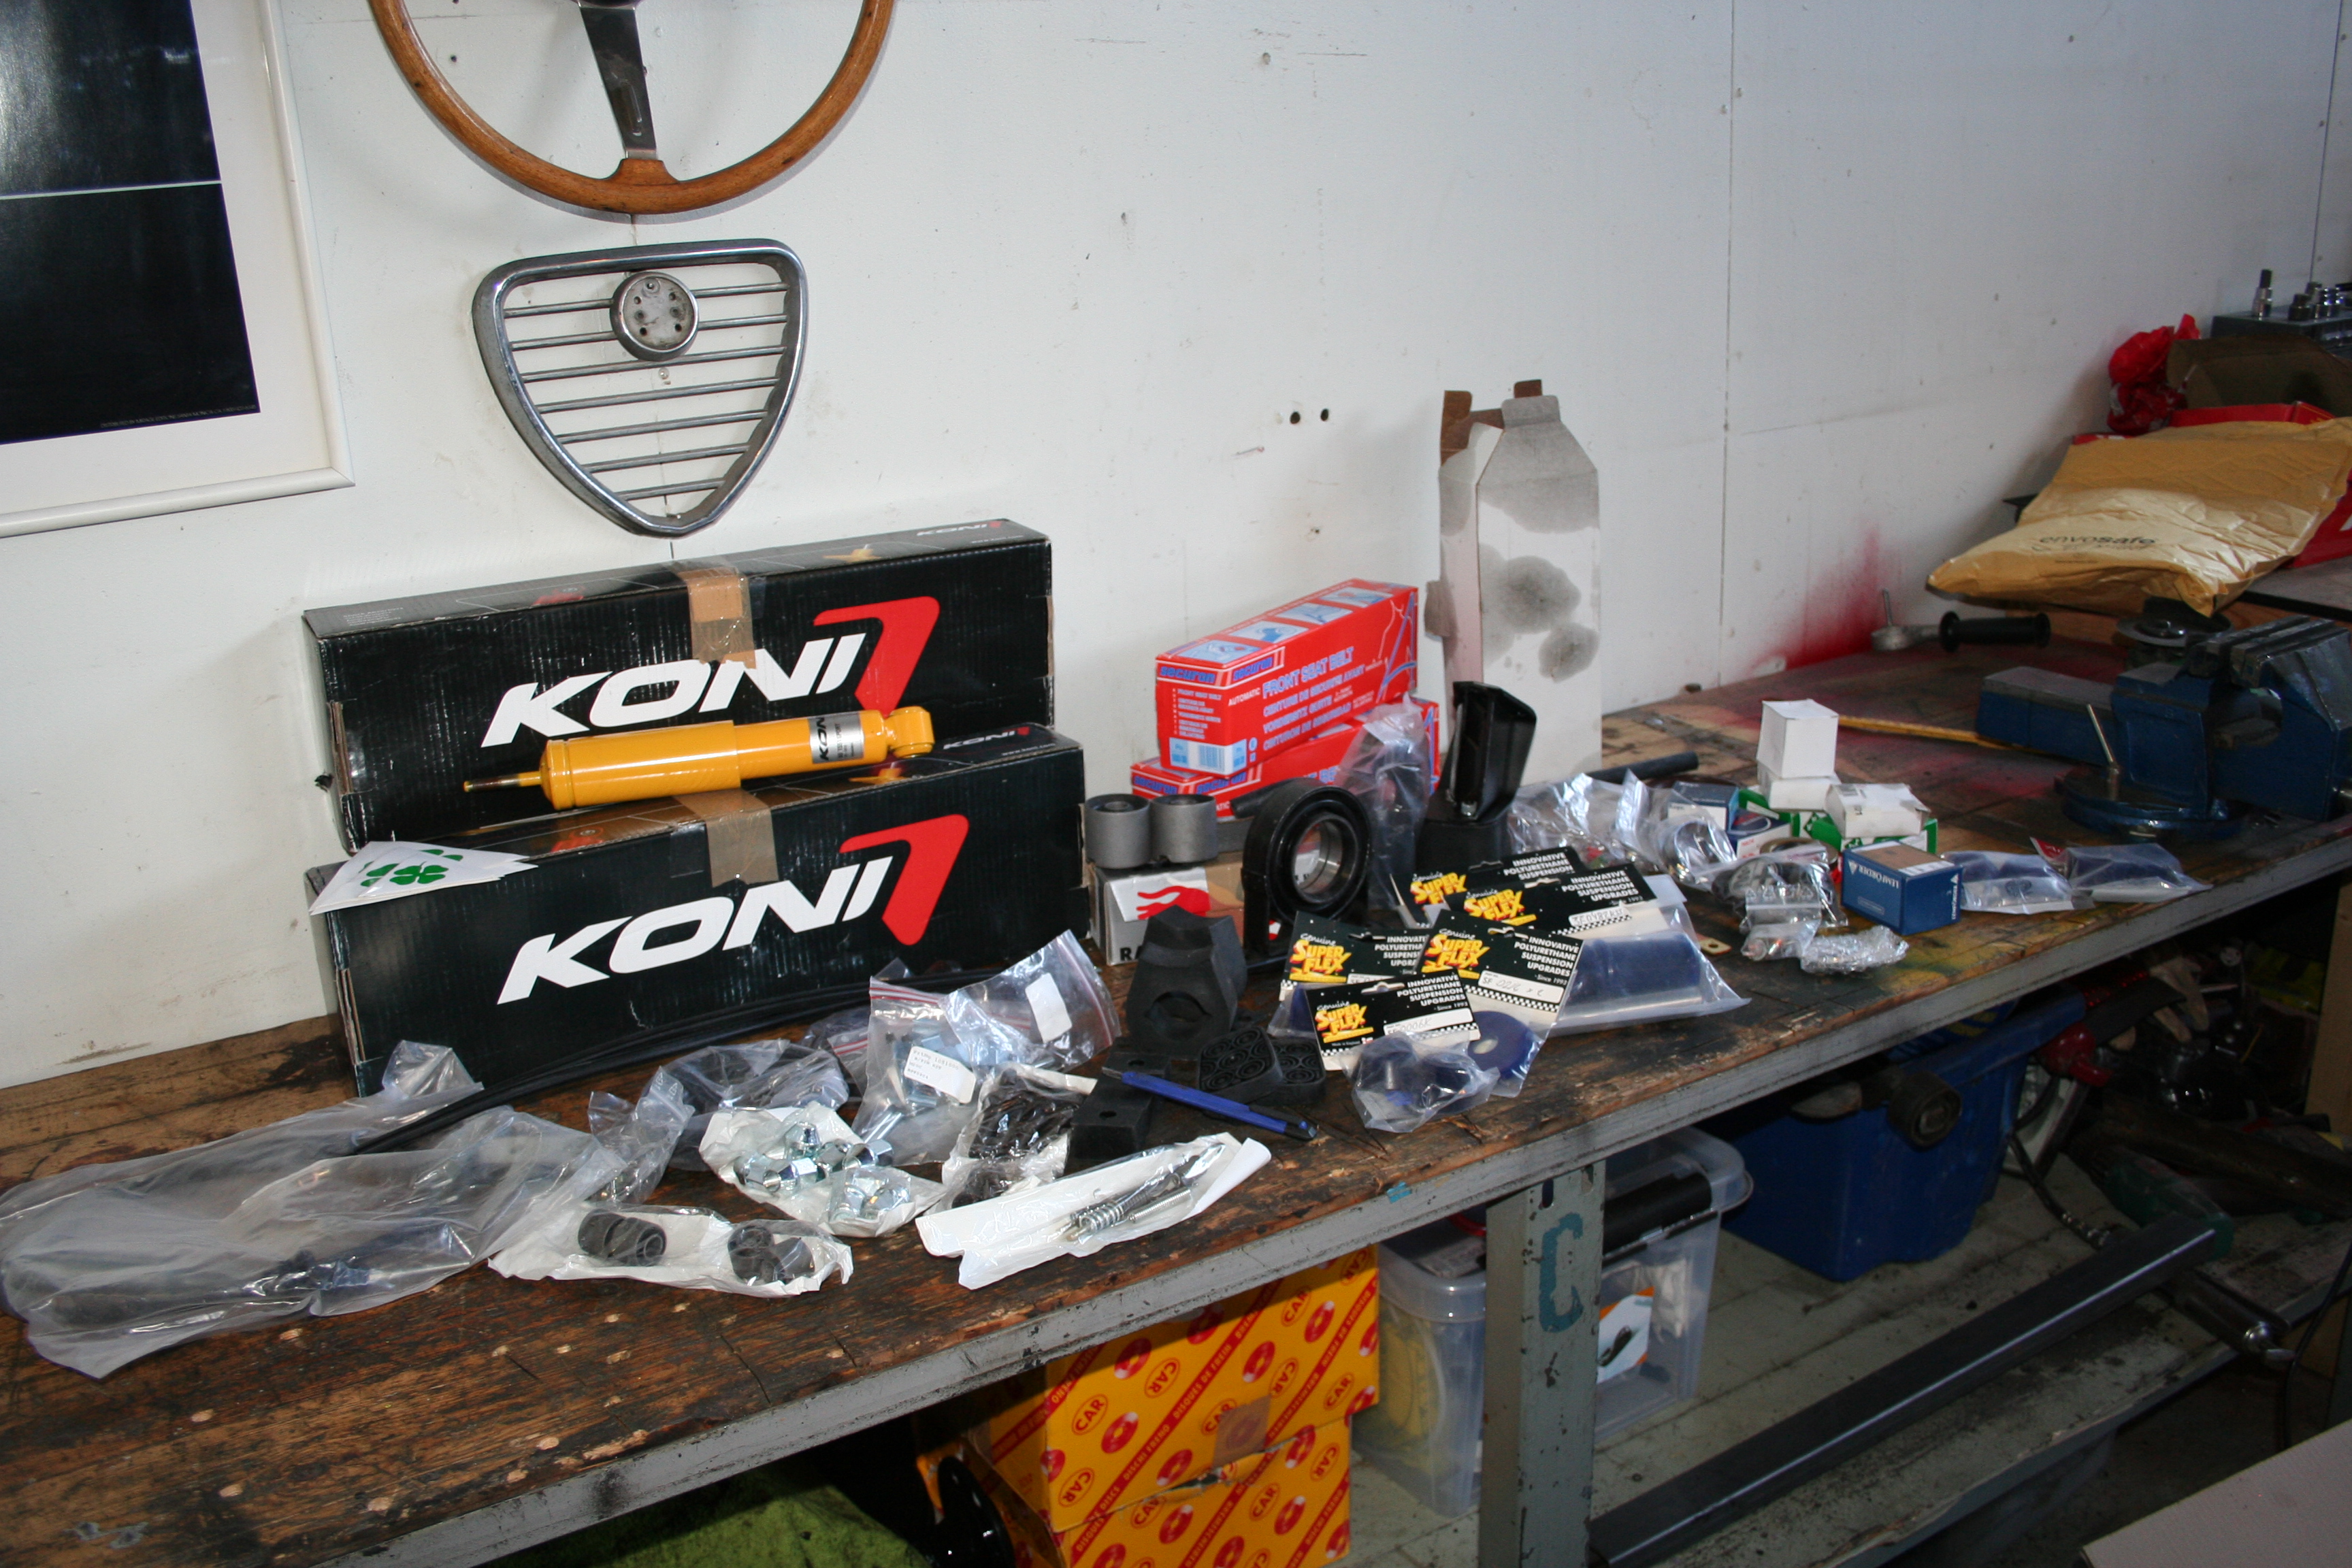
Parts arrived from Alfaholics:

Geographically the car had been in use in the country of Sweden almost since new, Sweden being a country that has long winters and the fact that they use salt the car was covered with a protective oil based coating underneath, Tectyl or similar. Since the use of this car is now changing from being someones daily driver back in the 70′ and 80′, to a recreational vehicle I want to remove the protective coating and just have painted surfaces on the undercarriage components.
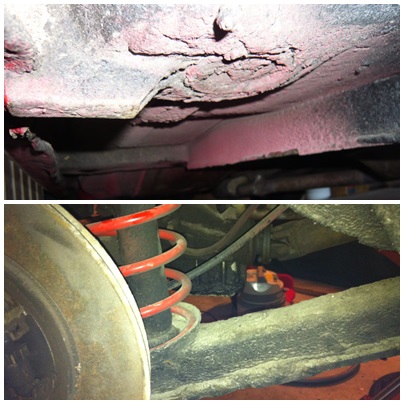 As the picture above shows i had my work cut out for me… Oh boy! was i in for a surprise!
Rear Axle and Suspension
#AlfaRomeoRearAxle, #105rearaxle, #Giulia,
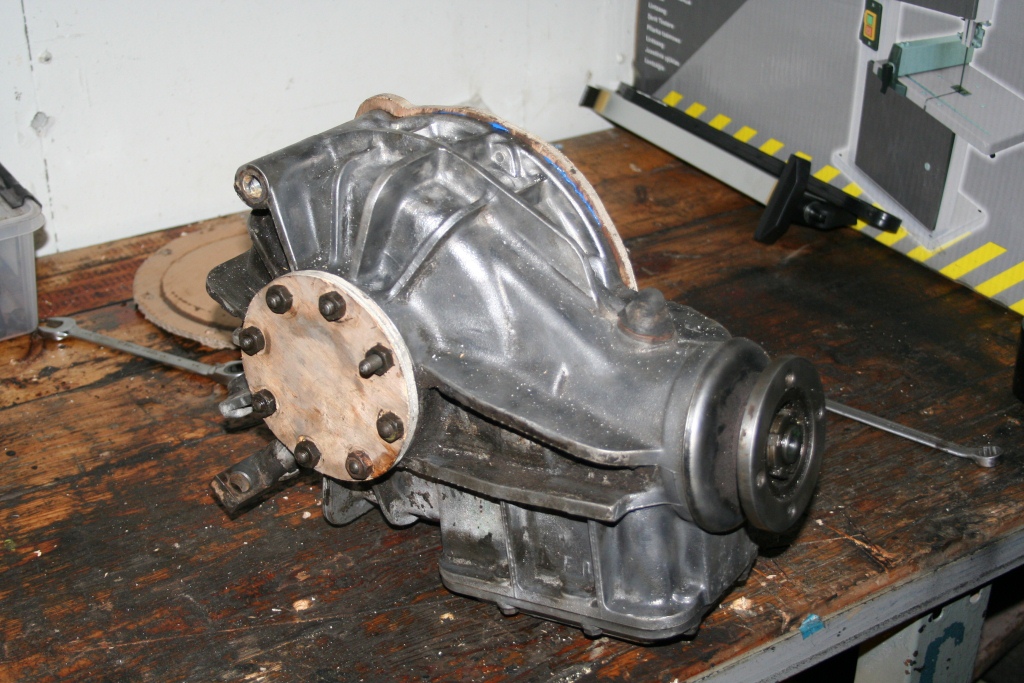
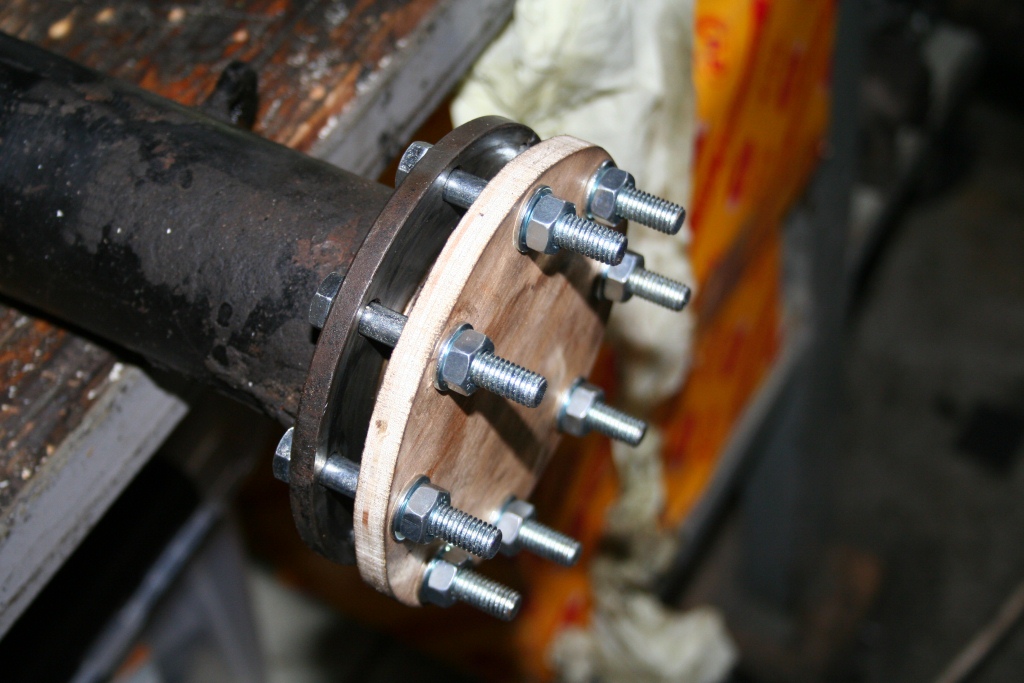
During the assessment of what needed to be done, I checked the backlash of the differential and the bearings did not give me enough doubt that i wanted to change them, i am looking for a original LSD axle as a replacement anyway to it was not necessary to change the bearings on the crown wheel or pinion, but i still wanted a very nice finish, the solution to the problem was to make lids to cover the openings on side of the diff house and lining it with the same material one uses to protect floors from furniture(Furniture padding) along with some Locktite sealant this was a good solution. same was done to the axle tubes to prevent glass to get stuck in crevices and later migrate into the diff oil.
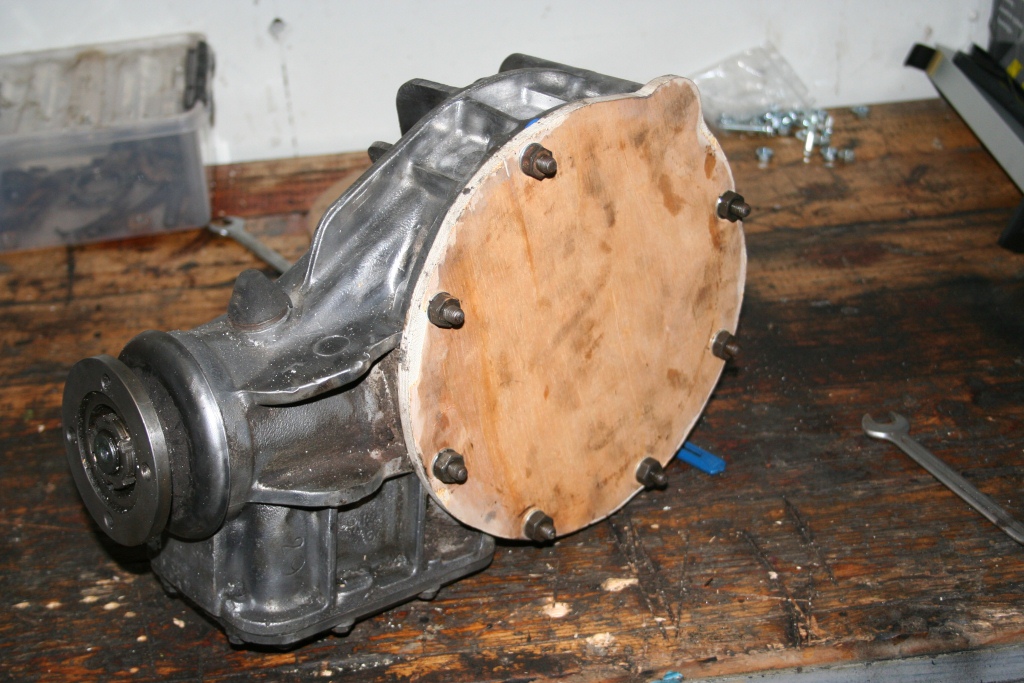
The pinion bearing cowl/plate was taped with a special tape that is used for media blasting.
The painting was done with a product called POR 15, the experience and knowledge the market has with this product shows that is the right stuff for my application, being polyurethane is is also flexible enough to cope with the condition these component are operating under.
By diluting the POR 15 with paint thinner i used a automotive spray paint gun to apply the paint to give me the surface i wanted.
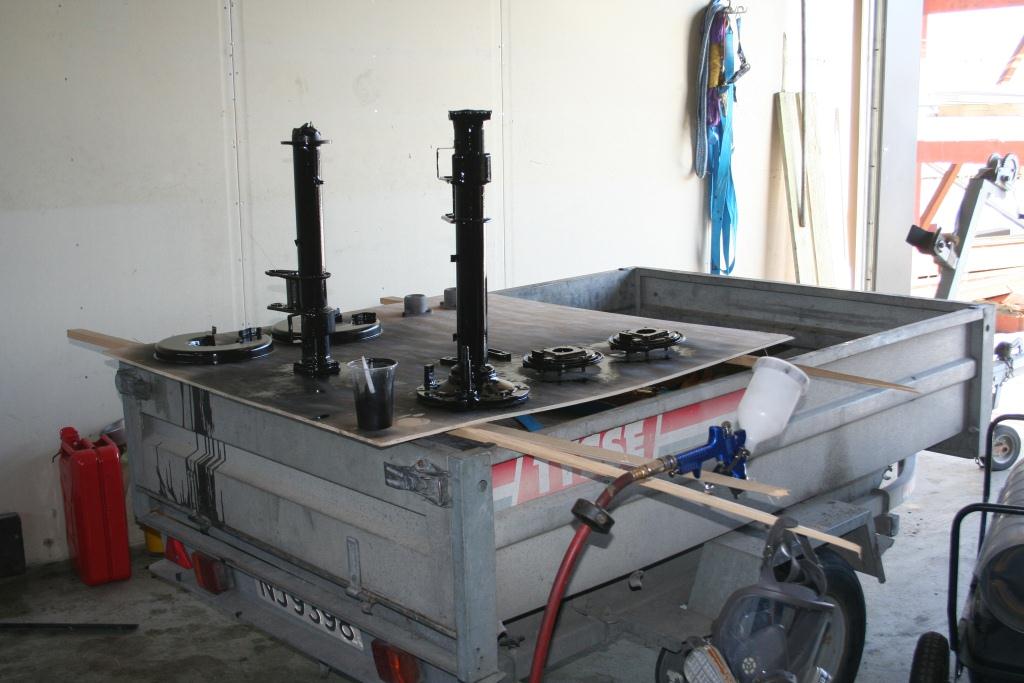
When everything had been blasted and painted i could finally start with the assembly, it is so rewarding to take new parts or refurbished parts and putting them together to form a component that is both mechanically and aesthetically ready for many new years of service.
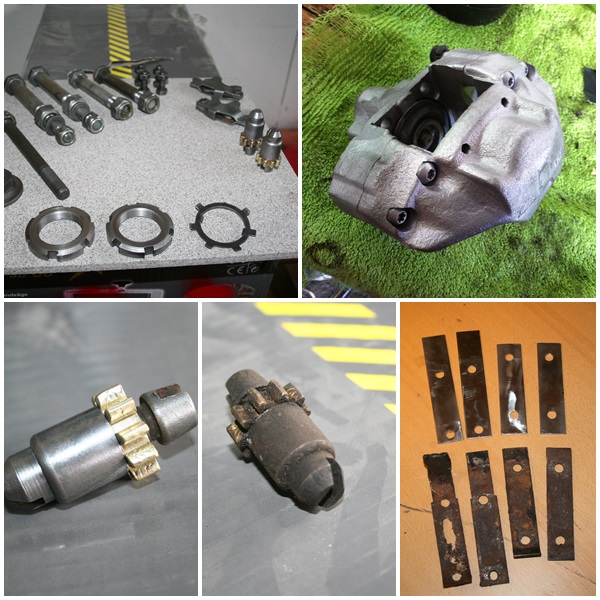
All bolts were given a thorough cleaning with a brass wire brush and turned out quite nice, the mounting plated for the belts that limit the travel of the rear axle was heavily corroded and were made in 316L to last longer, since they are not in direct contact with the body i chose to use a high grade steel.
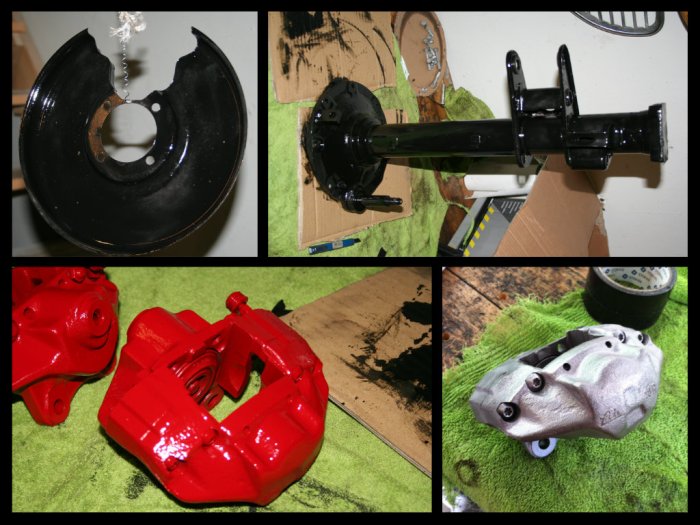
Brake calipers were given the same treatment and are now ready for paint…
Assembly… finally!
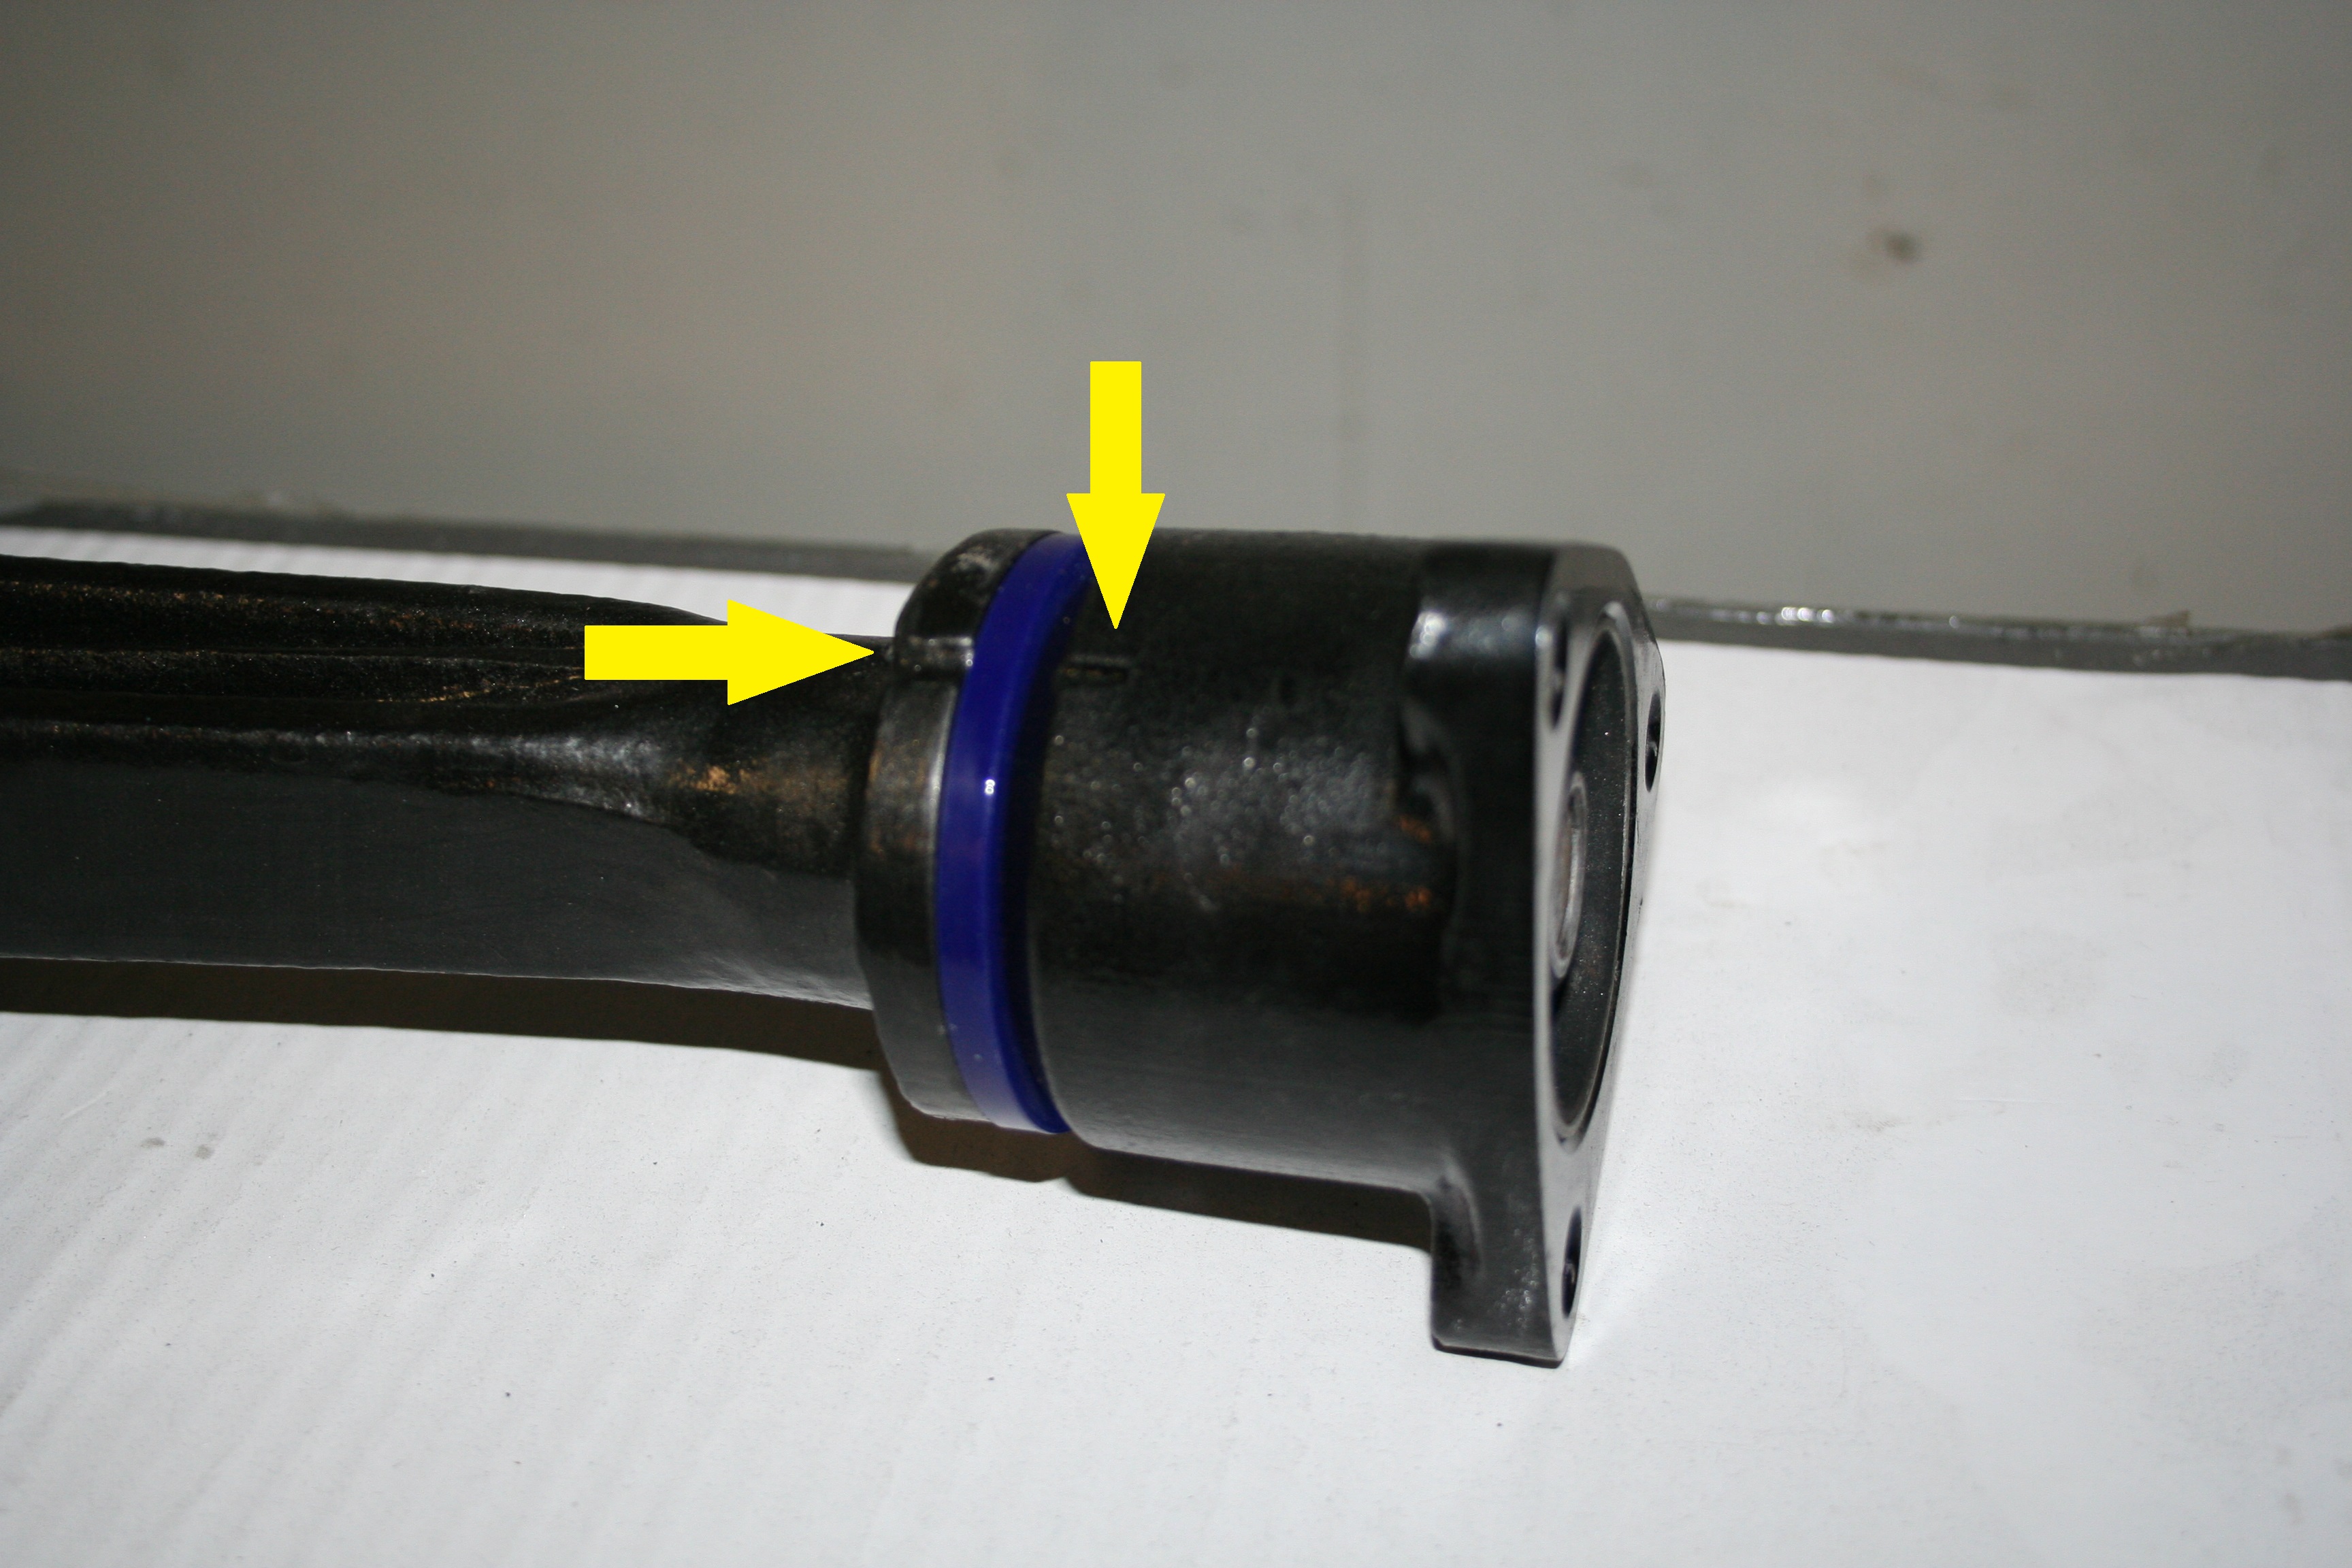
The famous T-bar all painted and fitted back in to the car, picture below shows the new bushings from Superflex fitted,
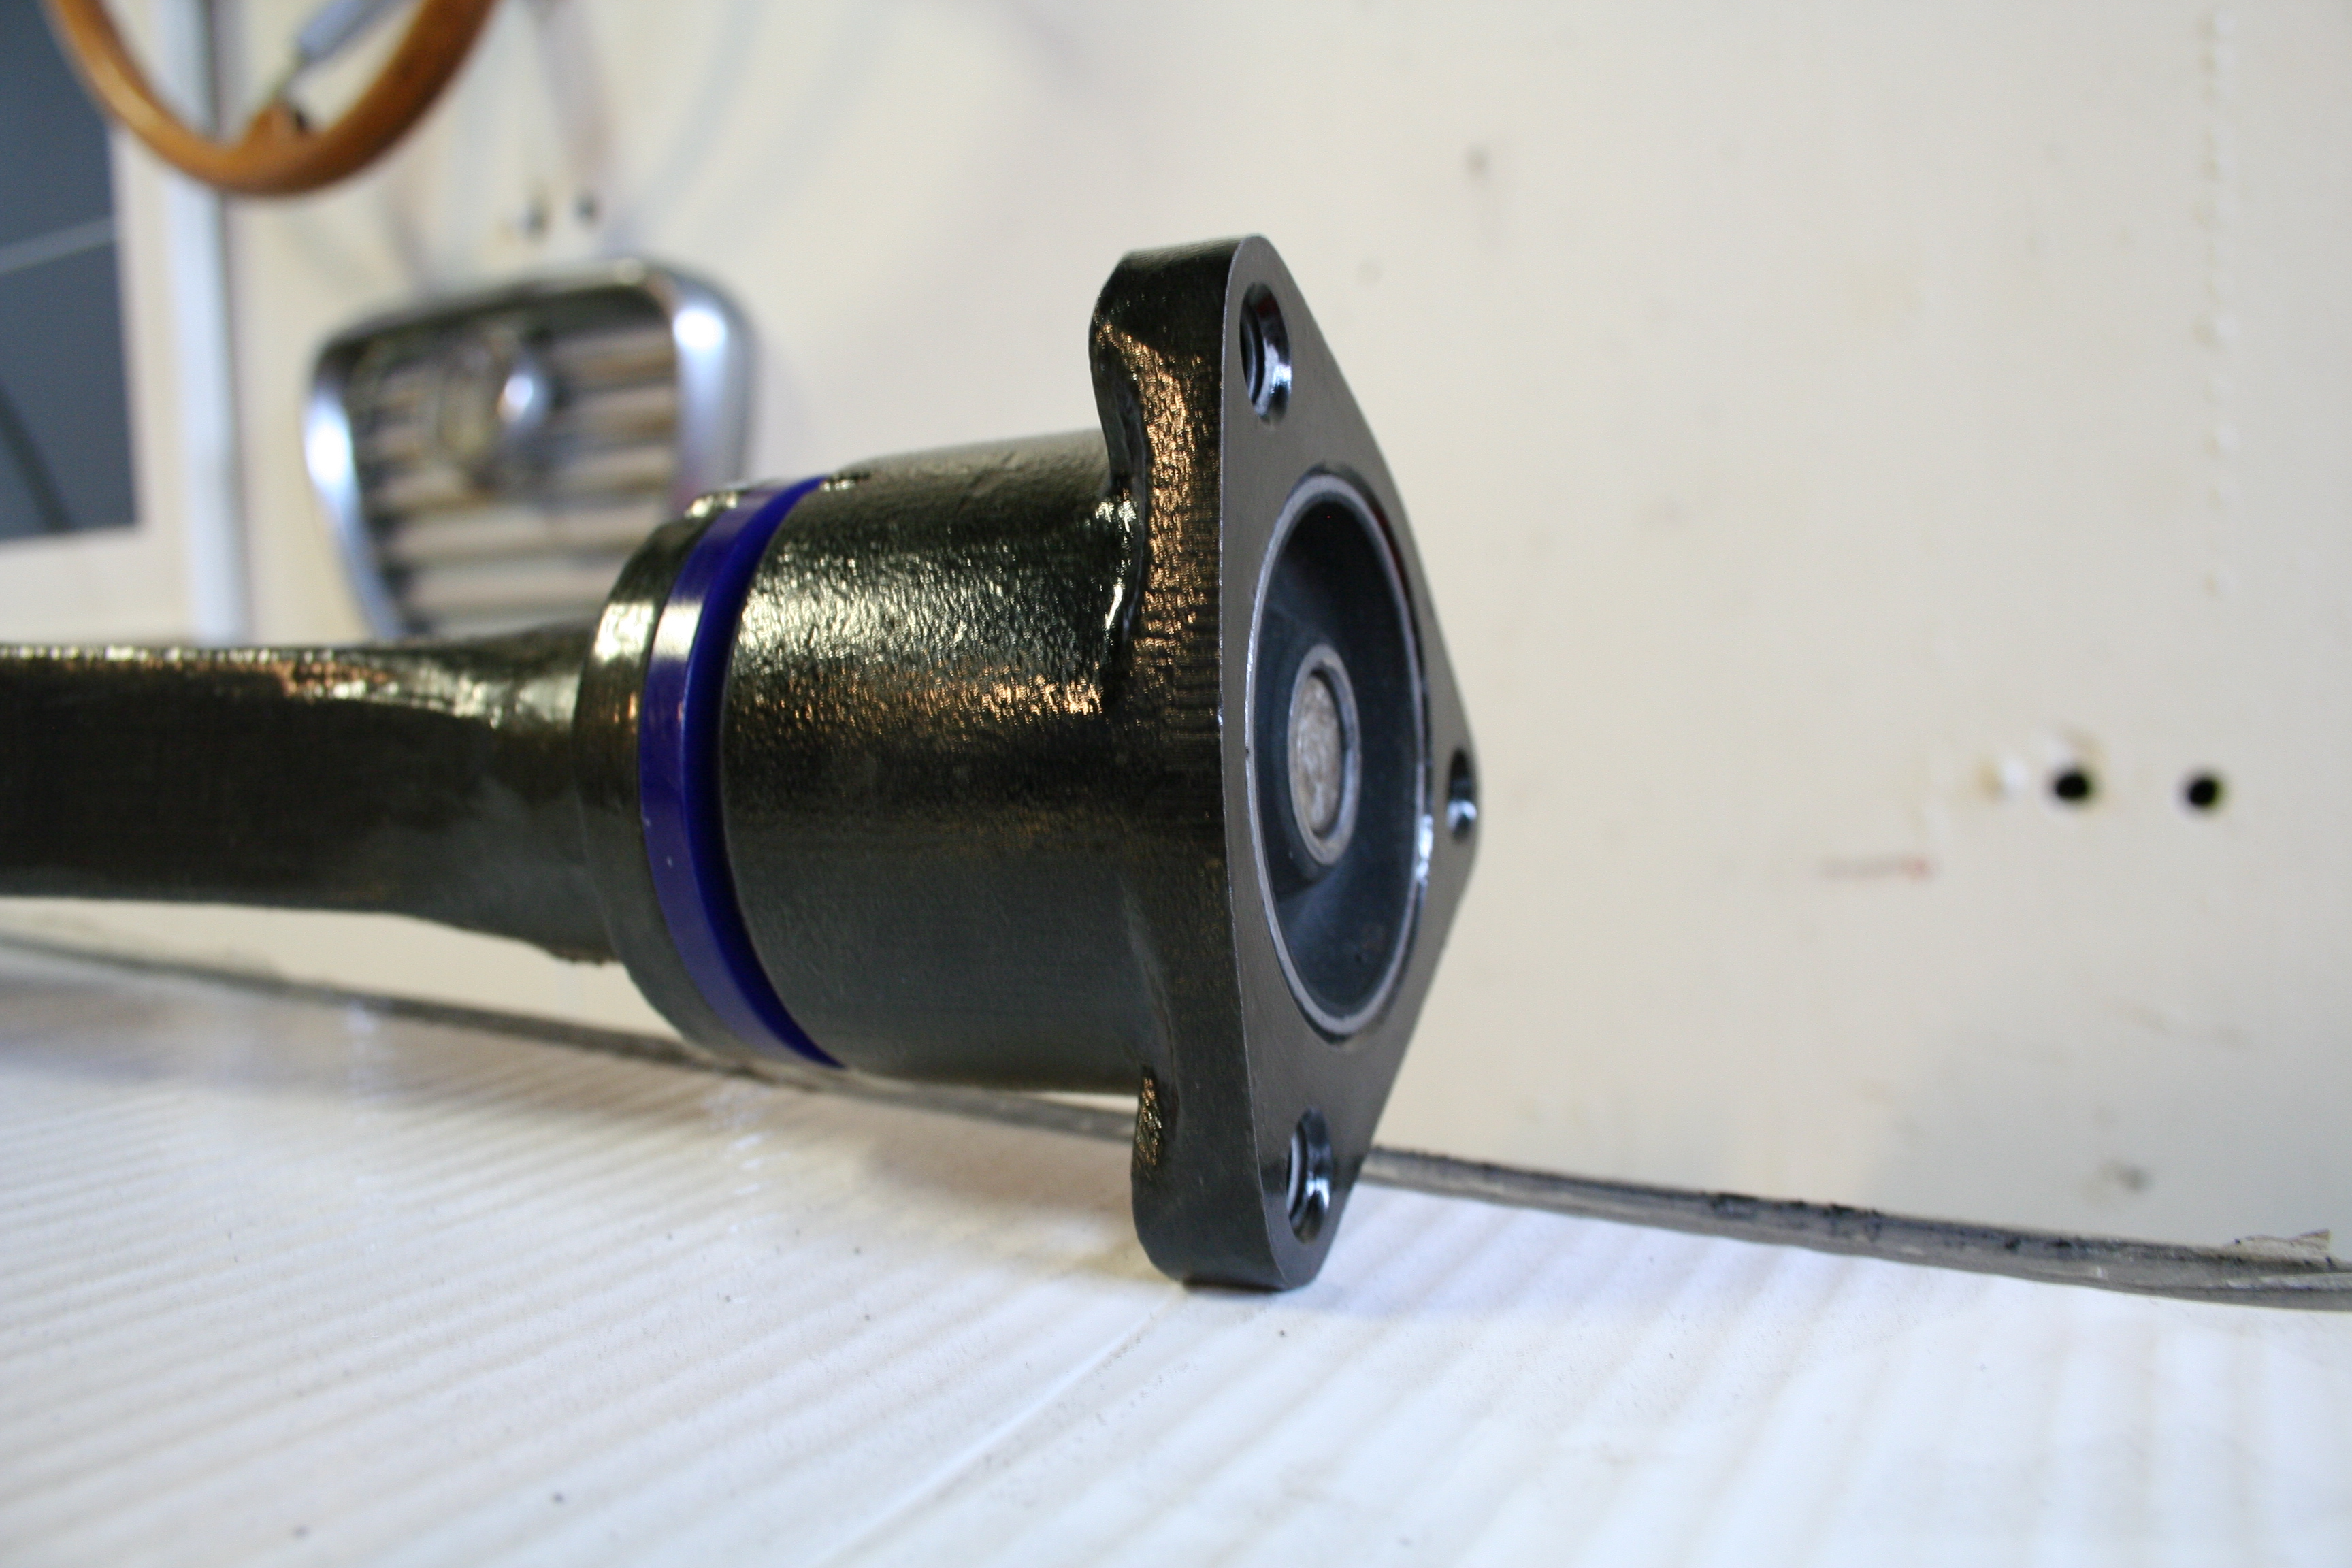
TIP: If you are doing this yourself it is important that you use the corresponding marks/grooves that helps you align the hubs and the T-bar, if this is not done the bolt pattern on the hubs will not correspond with the ones in the chassis.